
Welcome back! I am writing this blog almost a year later and much has happened. My first photo is a picture of my girlfriend, Mara, who re-inspired me to get back on this blog. So much of the credit I owe to her for my latest post.
These are some photos of my friend and soon to be co-worker, David, showing me how to use his Alaskan Mill on some cedar logs. In my previous post David let me use his horizontal bandsaw to mill the wood I used for my mom's planter boxes. We met while I worked at Grizzly Industrial. I am very grateful for everything he shares with me but most of all his friendship.


Here is the bounty we gathered from a a fallen tree near Bow, WA.

This picture is my fellow Makerspace helper and member of the woodworkers club in Skagit, helping me flatten some old elm I got back in 2018. I traded him my block plane for the time spent passing the CNC across the wood slab. It took about 30min.


My project back in November was to make a side table for Aiki's main office. They were also interested in paying to complete one of my first projects, the Biambo folding room divider from way back during my first post in 2008/2009. I scrapped the idea of framing branches and replaced it with filling the space in the dividers as a book shelf with my left over live edge pieces of elm.

David let me use one of his nice 10' circular saws to cross cut the table to length.


 |

I was also able to work on shelf/coat rack from some remaining slab I had in garage for a few years.


I was really happy how the pieces came out. I felt proud of myself to be able to complete some old irons in the fire and get paid for doing it. I hope to be doing more projects like this in the future.
Below are some images of me trying to overcome my fear of ladders and scaffolds. I thought that with my background in climbing I would be ok with heights but it turned out to be more difficult than I thought. Still working on this one step at a time.


This photo was taken at 3pm during December I think. Winters in WA can be rough.


Winters can also be very beautiful.
Another site we started working on is located in Bellingham, above Barkley Village. I wish I took photos of the process for laying the foundation marks and setting the radiant floor heating before pouring the concrete. We subcontracted the framing, roofing, and siding. I was disappointed to miss these critical steps in building this house. The crew we hired for the first time were exceptionally fast but very sloppy. Many things needed fixing and what should have been a new house construction turned into a remodel. I did however learn how not to do things, then correct their mistakes.


Not long after we were almost ready for the insulation and sheet rocking, Covid 19 was turning into a big problem for everyone. Work stopped and I was temporarily laid off until things were safe to get up and running in the construction businesses. With my new loads of free time, I took it as a great opportunity to build my mom a Japanese inspired garden gate for her fruit trees in front. The house needed more curb appeal and I was looking for a good new challenge. It would get two gates and a fence but we decided it was best to work on it in sections. We weren't sure how long Covid 19 was going to be an issue and how soon I'd be working full-time again.


One thing that has always caught my eye in Japanese architecture is how they scribe their posts to stone. Its a beautiful detail that helps prolong the life of the wood. Not the fastest way to build a gate, but as I said before, I had loads of free time.

To make the two post gate strong enough from the elements like wind or snow, I knew it would need a sturdy foundation. Dale, my friend and mentor in Seattle, recommended I use 1 inch galvanized pipe that runs into the concrete footings, through the stone, and 2ft up into the bottom of the posts. Achieving this was not easy. Many tools had to be borrowed or purchased, especially the very expensive concrete drill bits. Rentals were often burned out and terribly slow.


Below is me mixing the concrete that was about to be poured into the foot moldings. Behind me is Bill, my neighbor, who was very helpful throughout the project in loaning tools and advice on steps that should be taken. I am lucky to live in such a supportive neighborhood.


It was especially tricky to bore a 1 1/2" hole 2ft up the center of a post.

My dad helped keep me straight and true as all good parents do.


Not bad for a first go.

With Bill's help, my neighbor, I was able to scribe my lines with a compass and then carve the contours of the stone to the post.

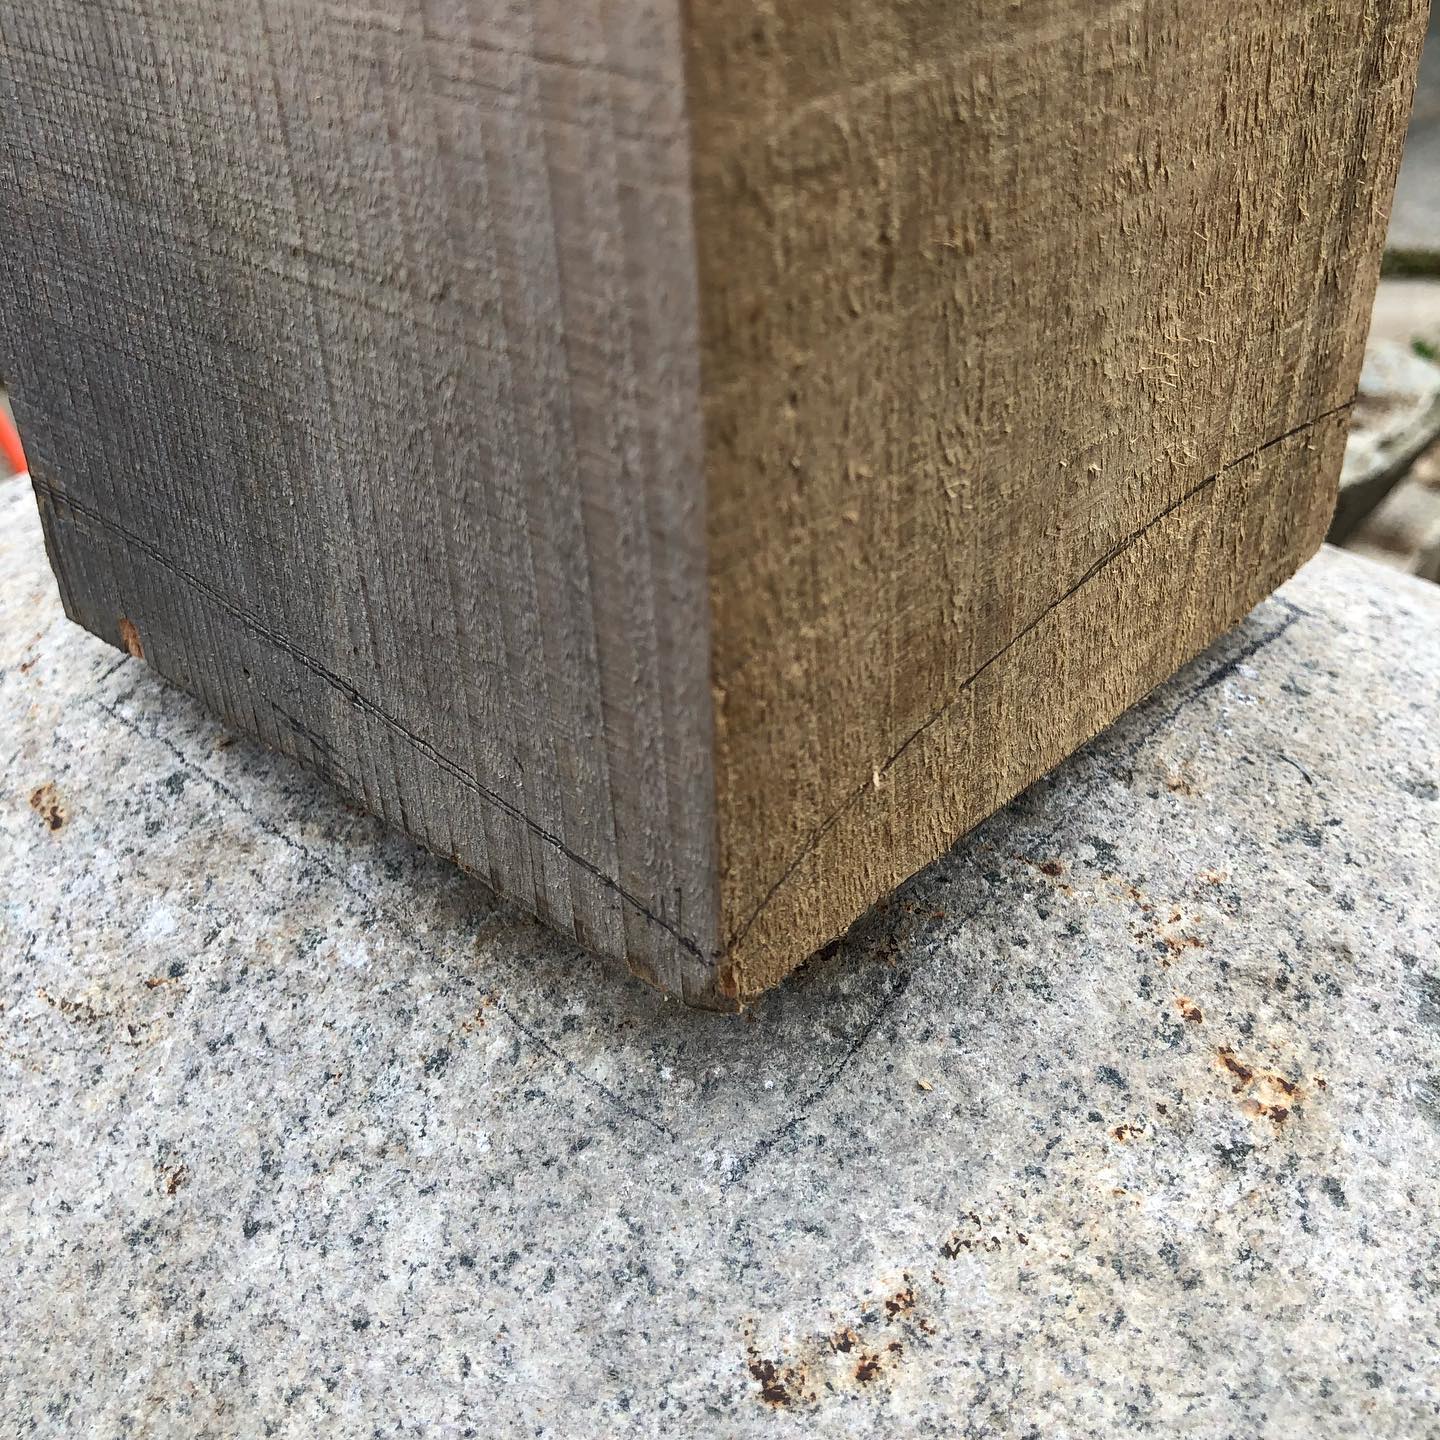

Traditionally the contour is carved out with hand tools like chisels and gauges. I saw on a youtube post someone used an angle grinder and carving disc to hog out the material. Wearing my PPE and taking care while using a relatively dangerous power tool, I gave it a go. The results were impressive for my first carving but still room for improvement. I think should I be aiming for air tight fitting, I would remove most of the material with an angle grinder then approach the final line with hand tools. Much more tedious but a better fit for sure.


Along the driveway was the first length of fence. We, my mom and I, decided to go with the same rock footings as the gate but with smaller 1/2" galvanized pipe.


We were going for a Japanese inspired look with western farm materials like these hog wire panels. I was really stoked how they came out.

The essentials to Japanese layout tools. Sashigane (Carpentry Square), Sumitsubo (Ink Snap Line), and Sumisashi (Bamboo Ink Pen). Tape measure and bevel gauge are also helpful.

I was surprised by how fast I was able to layout and cut the posts and beams needed for this project. I was worried that having been away from any hand tools for so long I would be out of touch. It was nice to work with sharp tools again.


My new timber slick was especially helpful for paring the big mortises and tenons.


This May and June was very wet in WA. Mara, my girlfriend, thought I looked cute in my Alaskan King Crab Fisherman gear.

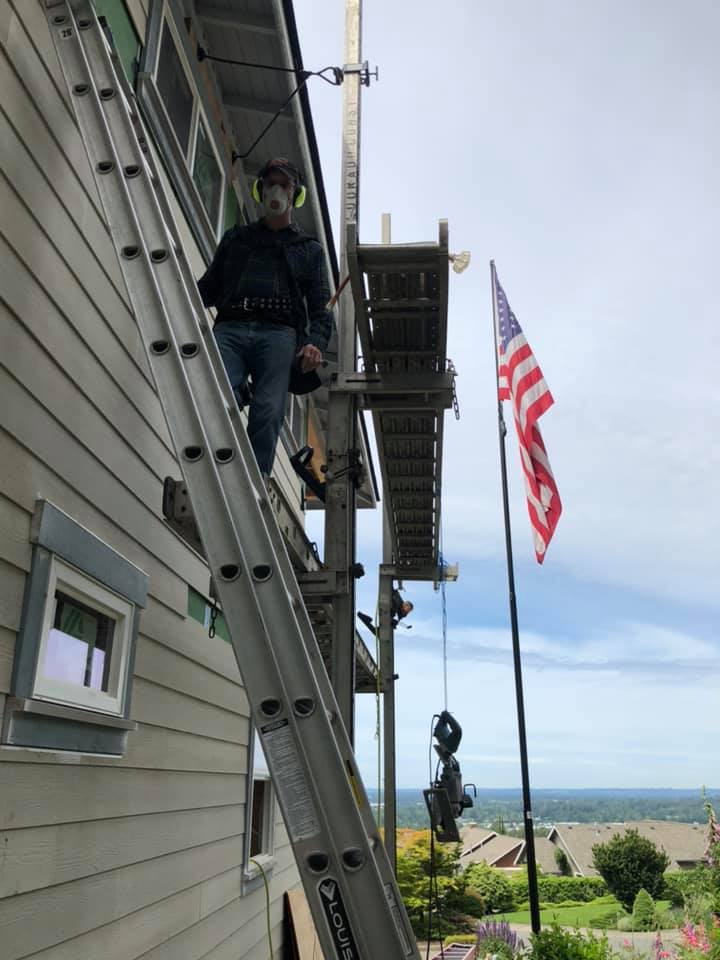
Still getting used to big ladders and now pump jacks. June was a lot of Hardie panel siding. I was not asked to get on the high ones but I was asked to test the waters with the pump jacks and see how they felt. Luke was very supportive, patient, and encouraging, knowing my fear of ladders. I am grateful to have such good co-workers like him and David to help build my courage.


Now that work has me going full-time, my mom's gate project lost some of its momentum. I was happy to get a few weekends in when I had time and energy. One weekend I was reminded why I love Japanese hand planes. In 4-6 hours I was able to plane post, arms, header, and ridge beam in Western Red Cedar with and against the grain, through knots, with very little to no tear out. This before would have been a daunting task. Now I was able to preform the work, sharpening my blade only 3 times. Sharpening was also a pleasure. I was able to get the blade relatively sharp in a short amount of time. Before it would have taken hours.

This is me standing on my makeshift scaffolding getting ready to raise the posts, arms and header into place.


I wish I recorded the sound the pieces made when fitting them together. Its a delicate balance to get them snug but not too tight they split. When its just right its a wonderful sound.


Not bad. I was pretty happy with how everything went. One minor crack in the header from pounding the wedge in too far. I wasn't able to get it out and started to panic thinking I botched the whole thing. Had to stand back and appreciate wha I had and realize it will be ok.
Thats it for now. Tune in for more. Hope this post was enjoyable. I tried to put in more pics and less words. Next time I will give more links to videos I think. Thanks for checking out my blog.