How to begin summarize these past 7-8 months? Lots to catch up on.
The Merchants, clients of the house I was working on, expressed interest in the table and shelves I built for the Aiki office. They asked if I would consider building them a dining table or small coffee table in future? I introduced them to my wood source for slabs, Fred in Ferndale, and gave them a tour of various potential projects we could work on. Nothing was set in stone, but ideas sprouted and contacts were shared. Hopefully this will be a great project in winter when things slow down again. Here are some photos of excellent walnut Fred showed me.


Sometime in mid August, Mara and I took a drive to Seattle to get help from Dale on cutting, and folding sheets of copper to form the ridge cap on the gate. Dale showed me how it all works on his ingenious 10ft break and shear. Very compact, lightweight and efficient. Not at all what I was expecting for typical metal folding equipment.


It was an elegant and simple design for a beginner like me.

When the copper pieces came home I was stoked at the fit on the cedar ridge cap form. I knew the next challenge would be how to fasten it all at the top of the gate. The previous platform for the A frame ladders would be too precarious for this part. So I researched the best I could on scaffold rentals. I wished I could use some like Dale hadfor the Chinese gate. Unfortunately, those come from Japan and hard to come by in the States. Regular scaffolds that are rented from Hardware Sales wouldn't work with the changing slopes and tight spaces around the gate. My solution was to rent from a commercial scaffold rental company that had a particular modular structure that would work for the job. It was expensive, heavy to move to and from the house, but safe enough to work on up high to fasten the delicate copper ridge cap.

Almost didn't order enough of the right pieces and too much of the wrong ones. Fortunately, I did manage to erect a structure that got us close enough to do the job.

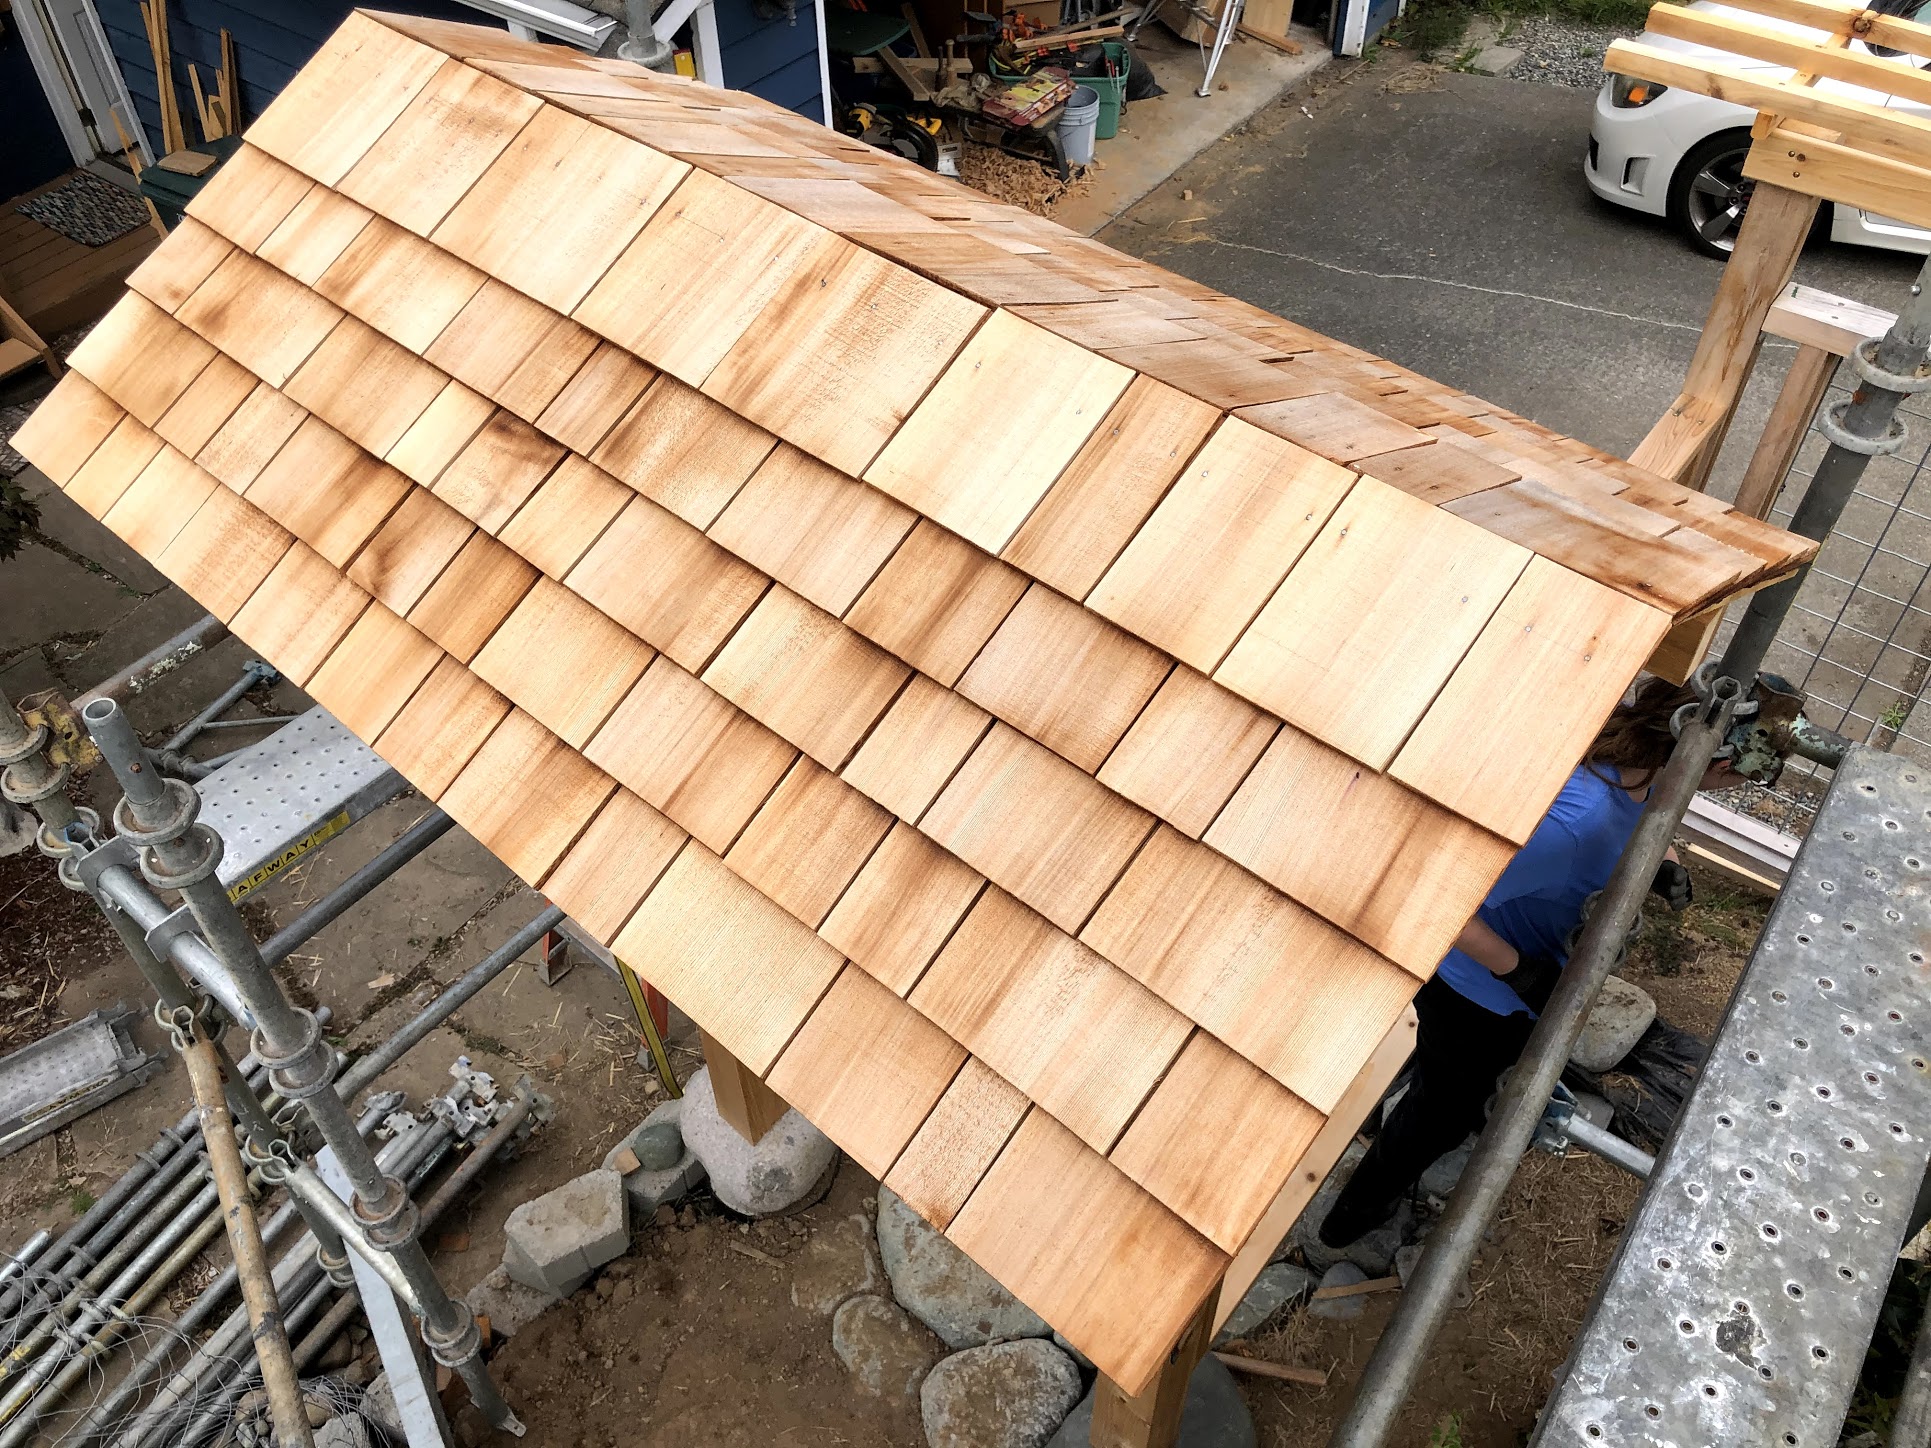
Here is a picture standing on top of the scaffolds looking down on the shingled roof.
Making some final cuts and folds before fastening the ridge cap.


I really liked the way Dale helped design the way we attached the ridge cap to minimize the amount of screws and copper nails showing. This pictures shows how the folded tabs secure the bottom ridge cap.

One last final shine scrubbing off any finger prints before disassembling the scaffold. We were really proud of the way it came out.

Back in August I learned more about how to set flooring in the Merchant House. It was interesting to see how we had to start in the middle of a room for this particular job instead of on a wall in order for everything to come out right. I liked flooring but my knees didn't after a few days of it.


Cabinets also had to go into the kitchen, office, and bathrooms. It was challenging getting the upper cabinets spaced evenly across the office but we made it work. Laser levelers are a must! Way easier and less messy than traditional level methods.


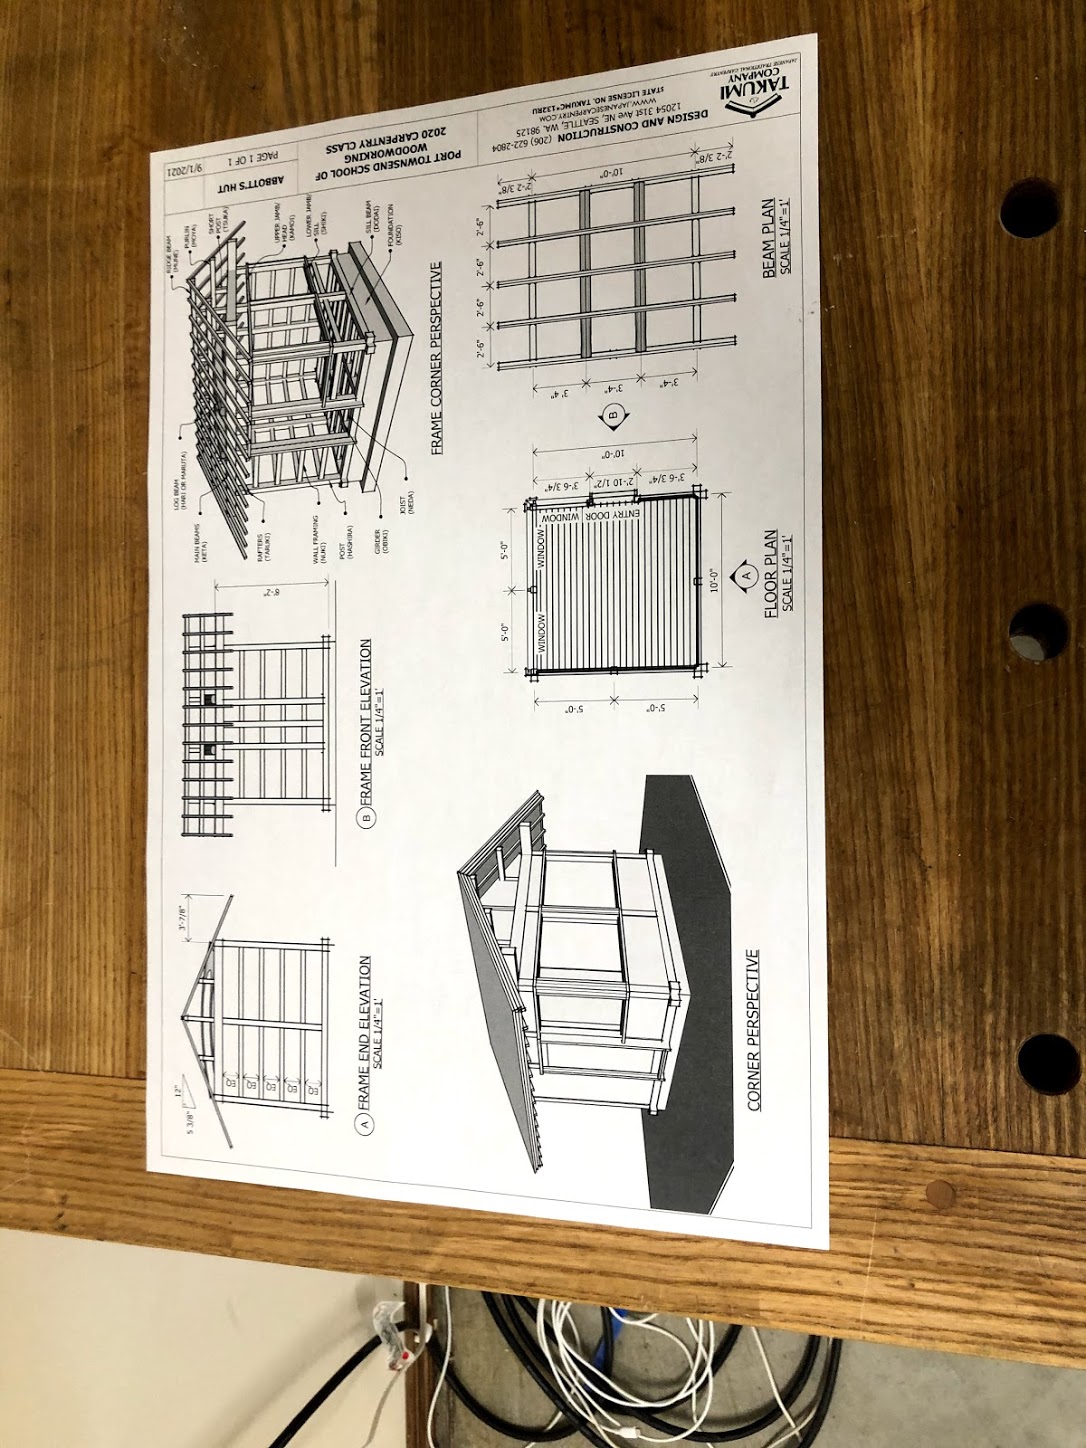
In early-mid September, Mara and I finally got to go on a much needed mini weekend vacation to Port Townsend. I wanted to see the Port Townsend School of Woodworking. Below are some pictures of tour we got of their amazing facility. Really impressed.


One way I convinced Mara to come to this town was the well renowned wood store, Eden Saw. Mara was on the look out for Koa wood to build a custom urn for Ilse, her dog that passed away in early August. We were having a hard time finding it in Bellingham but were told Eden Saw would have it. The only had one little piece for $100 that didn't look great. But their slab selection was incredible.

Feeling a little disappointed with the false raves about Eden Saw, Mara and I stubbled into a small wood gallery in downtown Port Townsend, called Forest Gems. They had a fantastic collection of small cut of pieces of highly figured maple, walnut, redwood, and Koa for reasonable prices. Unfortunately, Mara and I had already spent through most of our budget by then and couldn't afford to buy the pieces we wanted. We will return to this store for sure next time we stop by Port Townsend with a bigger budget. Its really neat how I got Mara into collecting wood. I might have made monster wood hoarder.

Coming back from my trip, base trim had to be cut and nailed in place. I was happy that Luke wanted us to cope the inside miters. It was a great time for me to show off my skills I learned from the Wood Tech Center in Seattle. For those unfamiliar with coping, it is a technique used in trim to prevent the inside miter from opening up. It allows you to get a tighter fit but takes more time to cut and assemble. I was proud Aiki preferred coping rather than just cutting sloppy miters.


This late summer was also a good chance for my mom's retaining wall. "Winter is coming" was a popular saying in the back of our minds and we knew we had to be quick. After a lot of discussion and research we went with granite boulders from North Star that we hand picked for delivery. It was delivered in the dump truck as seen below.


Mara and her dad Dan came out to help with the project. I really had a blast teaching Mara how to use the Dingo and letting her go at it. She did a great job and really enjoyed it.


For now that's all I can manage to update but there is still much more to come. Before I sign off I'd like to recognize another great mentor and very good friend of mine, John Burt. John and I met through his son, Alex, who is also a very good friend. When I worked with Alex at the YMCA back in 2007, we became close friends and I had shared my passion for woodworking. Alex immediately recommended I get in touch with his dad who worked as a craftsman in San Jose, CA. We instantly bonded and talked about all things woodworking for hours, days weeks and now years after. Having read and admired George Nakashima's book, The Soul of a Tree, John opened the door to one of the deepest rabbit holes in my life, Japanese Carpentry. John was the one who introduced me to Jay Van Arsdale and the Daiku Dojo. He was the one who taught me the great journey of learning how to sharpen, one you will never finish. John was the one who gave me my first hand plane and chisel. I attribute most of my cherished memories of woodworking to this wizard of the trades. He is an encyclopedia of knowledge of all things wood and metal. I am very lucky to have met him and even luckier to say we are still good friends.


